DIY

basic macrame project

July 30, 2017


If you've been on Pinterest at all in the past year, you've definitely seen some sort of macrame project. These mystical pinterest people have found a way to cover nearly everything in these woven fibers. In  quick search you could find anything from pot holders, to rugs, to tapestries. In my quest (and infatuation) to become one of these fairytale pinterest people I added macrame to my summer bucketlist, so here's how I did it. 

The materials needed were pretty accessible and inexpensive for my wall hanging. All in all this project cost between 10 and 15 dollars, but since I can't remember the price of the copper rod (I bought it 6 months ago on impulse) I can't give you an exact number.
  • clothesline 
  • copper rod (I actually already had this from Home Depot)


The next step of this project was research. I spent a good amount of time researching macrame projects other people have done and how to do the knots and I finally settled on recreating something similar to this:

Here are some of the helpful things I found along the way.


 Since I had no intention of using a pattern, I decided to make this as simple as possible for my first macrame project ever and used one knot only-- the double half hitch stitch you can learn from both videos.


I started with 10 strands attached to the rod with the larks head knot and then got to business making the double half hitch stitches diagonally so that they would meet in the middle. Once I completed this section, I cut two more pieces of chlothesline which I attached both to the center of the project and to the opposite ends of the pole. On each strand, I attached more strands to hang like fringe with the larks head knot. Once I had enough tied on to achieve my intended look, I cleaned up my work by cutting the stands to taper in the middle and burned the ends to seal them.

This project took maybe two hours total and was the perfect rainy day activity to do while watching Netflix or listening to music. Thank you for reading!


DIY

diy: $10 Urban Outfitters Inspired Wall Grid

July 09, 2017


I have a soft spot for room decor, which my Pinterest boards show for, and I also have a soft spot for DIYing literally everything in my life which this blog shows for, so when I saw pictures of these gorgeous grid wall art installations nothing in my head clicked towards buying this in a store. They seemed like the easiest DIY in the world.

I’m sure you can imagine the look on my face when I looked them up and found them retailing on Urban Outfitters for $60.
S I X T Y D O L L A R S
Needless to say, I was not footing the bill for that and nobody else should, so here’s how I DIY’d my own dupe for 10 dollars. If you don’t want to spend the (well spent) time doing it yourself the Urban Outfitters link is here!


The beginning of this DIY will have to be a little story-esque because I did not document the grubbier part of this DIY, but here’s my description. This story started in a thrift shop like all good DIYs do. While spending a rainy, mucky day aimlessly pouring through a thrift store with my mom and I came across this little bin with these grids and I had my lightbulb moment. I had been thinking of the DIY only a few days prior so this felt pretty fated. The box had 30 grids, all or nothing, so we got the entire box and I split them with my best friend. The cost of all 30 grids? 5$
Running DIY Cost: 
15 Grids - $2.50
Then began the task of de-mucking these grids. I’m assuming they were some old shelving unit that had spent some time (a lot) in someone’s garage. I’ll save you the half hour spent with scalding water scrubbing these things off. I was going for was the rose-gold look so the next step was painting these grids. The easiest option would have been to spray-paint the grids, but since I cannot legally obtain spray paint (I’m only 17) I settled for painstakingly painting half of them rose-gold.
Running DIY Cost: 
15 Grids - $2.50
+ Target Rose-Gold Paint 2.49
$5.00
Now I had 15 grids to place up on my wall. There are several routes for how these can be hung. If you are ok with holes, pushpins are a fairly competent way of hanging them, especially when you get cute ones like this from Target. If you don’t want to put holes in your wall, clear mini command hooks do the job as well, which is what Julia did.


Running DIY Cost:
15 Grids - $2.50 
+ Target Rose-Gold Paint 2.49 
+Target Wood Push Pins 5.00
$10.00


Now, for the fun part: decorating. You can put literally anything up on these, but here are some of my suggestions. The cutest option for hanging things with would be binder clips like these, but you could use anything to hang things up such as paperclips or washi tape.


Things to Hang:
- photos/ polaroids
- sunglasses
- keys
-dried flowers
-notes
-jewelry

In total, I made 15 wall grids for the beautiful price of $10 which was much better than spending $900 at Urban Outfitters.

DIY

Golden Roses: DIY

March 23, 2016


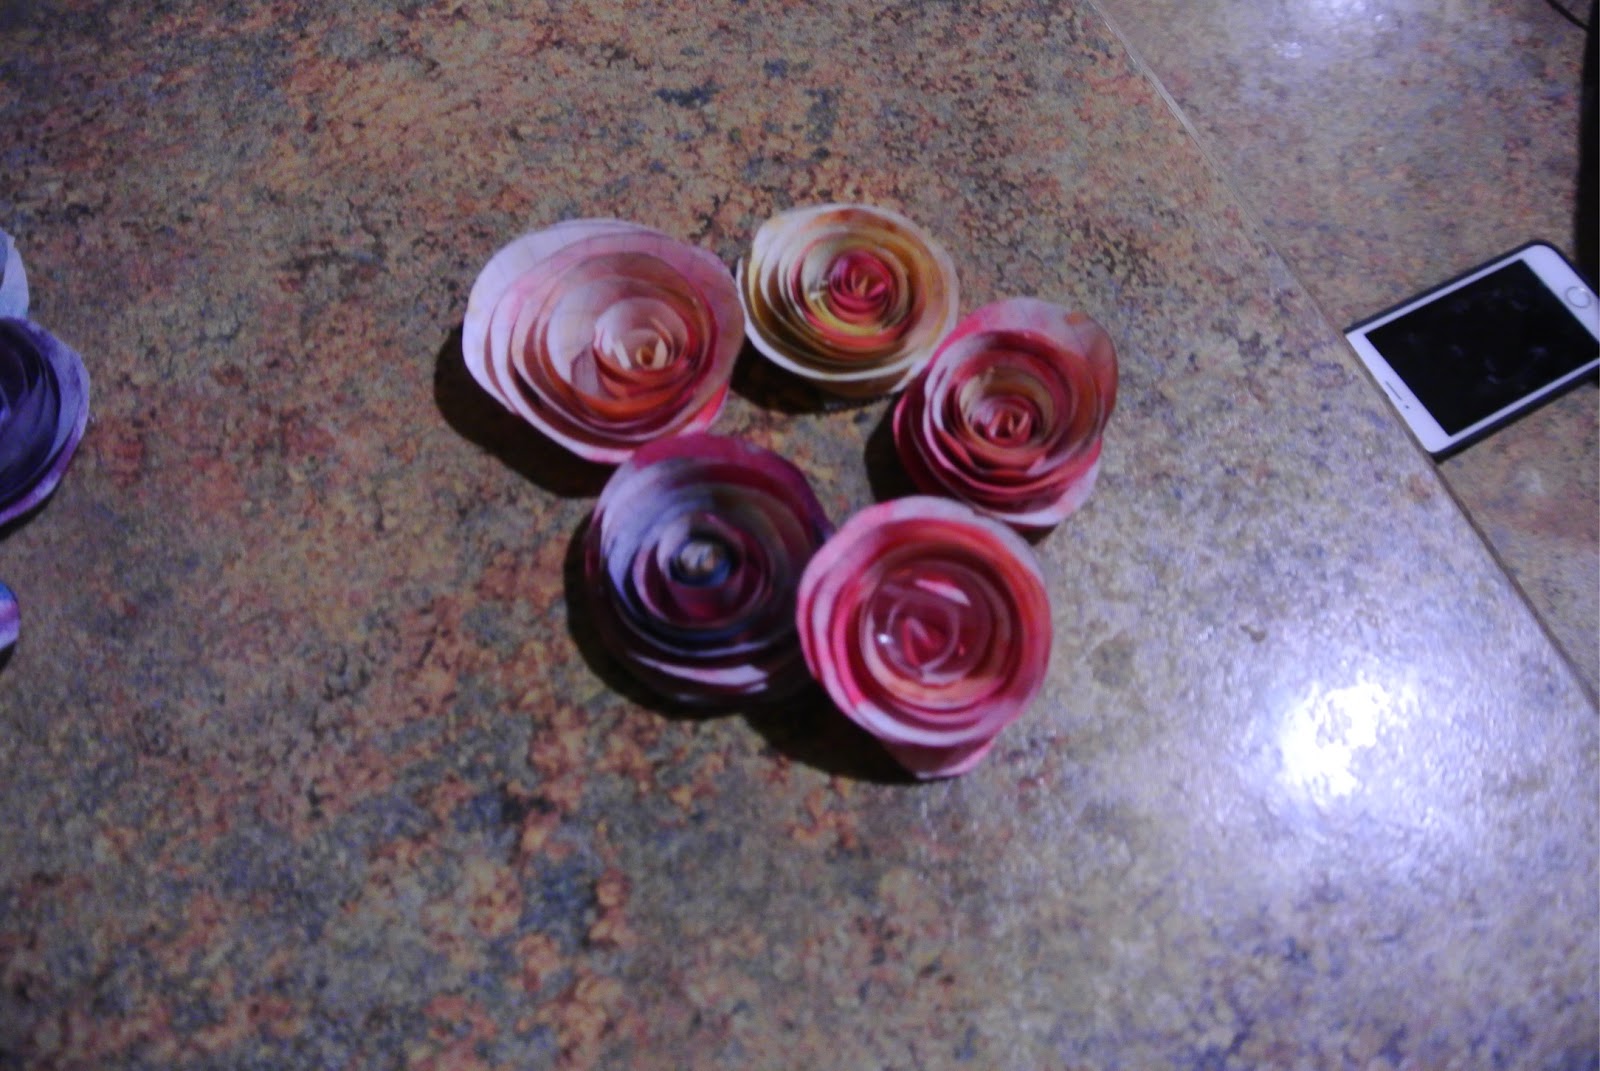
The brainchild for this project came from  a really sappy night, and a Valentine’s project for my friends. The really sappy night was actually my birthday and I was just thinking about all the love I received that day. If I had ever had any doubts on whether I was loved and that I loved my life they were squished into nonexistence that day. So from that day I was trying to think of ways to show my loved ones that I cared. Generally, I’m pretty good with expressing my feelings with my loved ones, but I really wanted something to express to them how much they meant to me, although it may not be a thing I say everyday. So, that’s where the idea for the roses came from for Valentine’s day. I made little roses for all of my loved ones and explained to them while handing it to them their significance to me and how much I appreciate them on a daily basis.


So back to this project. White roses have always been such a universally gorgeous, elegant and primly timeless figure of beauty to me and the i love the idea of and marrying them with another love of mine, a gold or rose-gold accent. Hanging them on my wall seemed like such a nice way to display them in my room to go along with the white roses of my head board, but they can be displayed in so many different ways to be a simplistic accent to any room.


THE NEW YOU.png


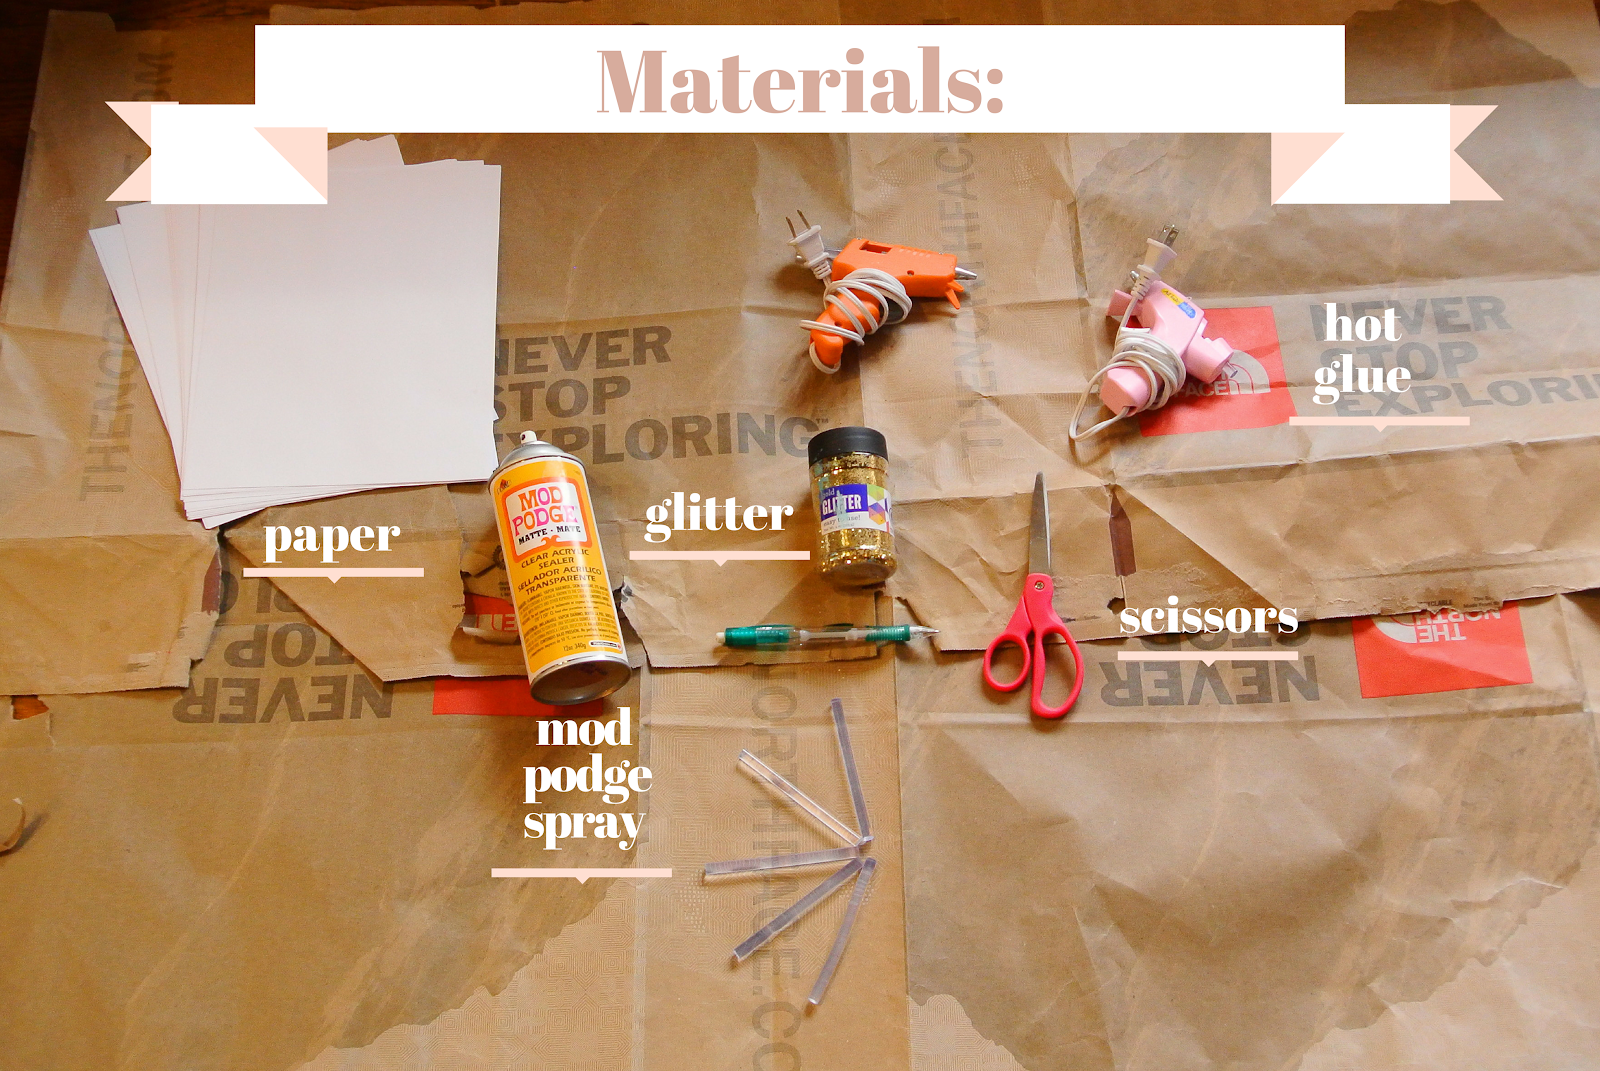
Materials:
Paper - colors and types can be to your choice
Mod podge spray
Hot glue gun
Scissors
Glitter


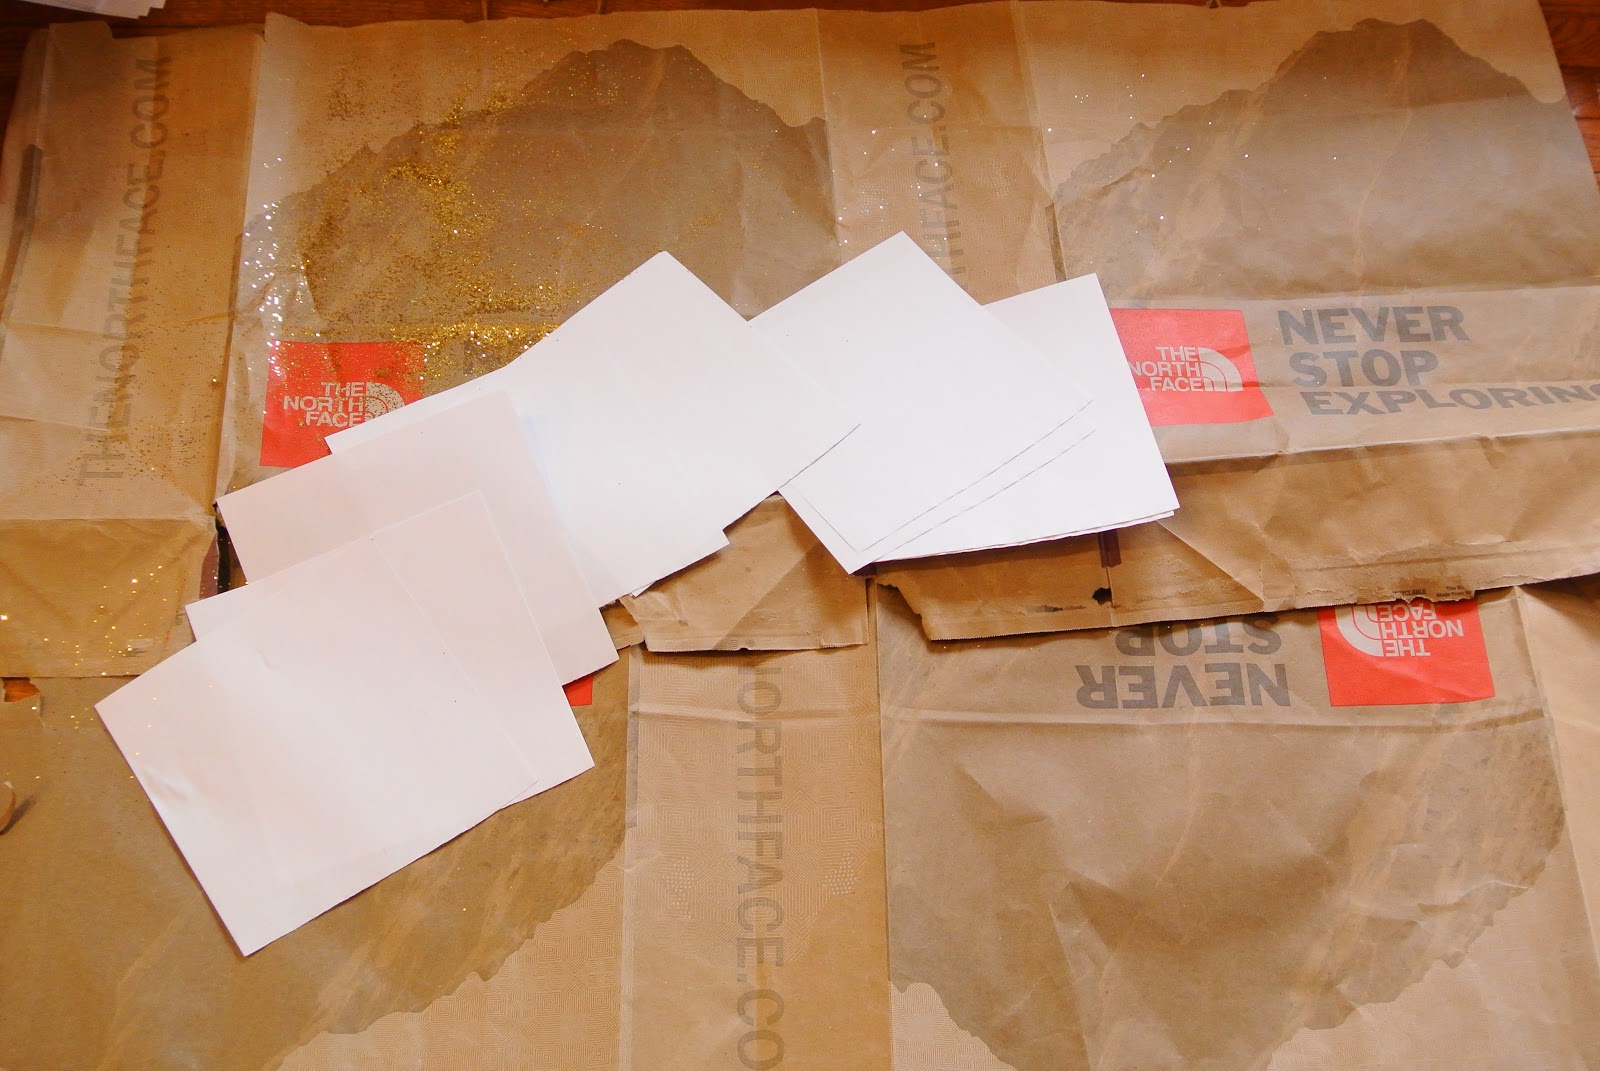
To start this DIY  any type of paper or color will work and it needs to be cut it into squares. The size of the squares dictate how big your roses will be. For this project I used white printer paper but any type or color would work. For the valentines project I used graphing paper that my sister and I water colored.


DSC_5787.JPG


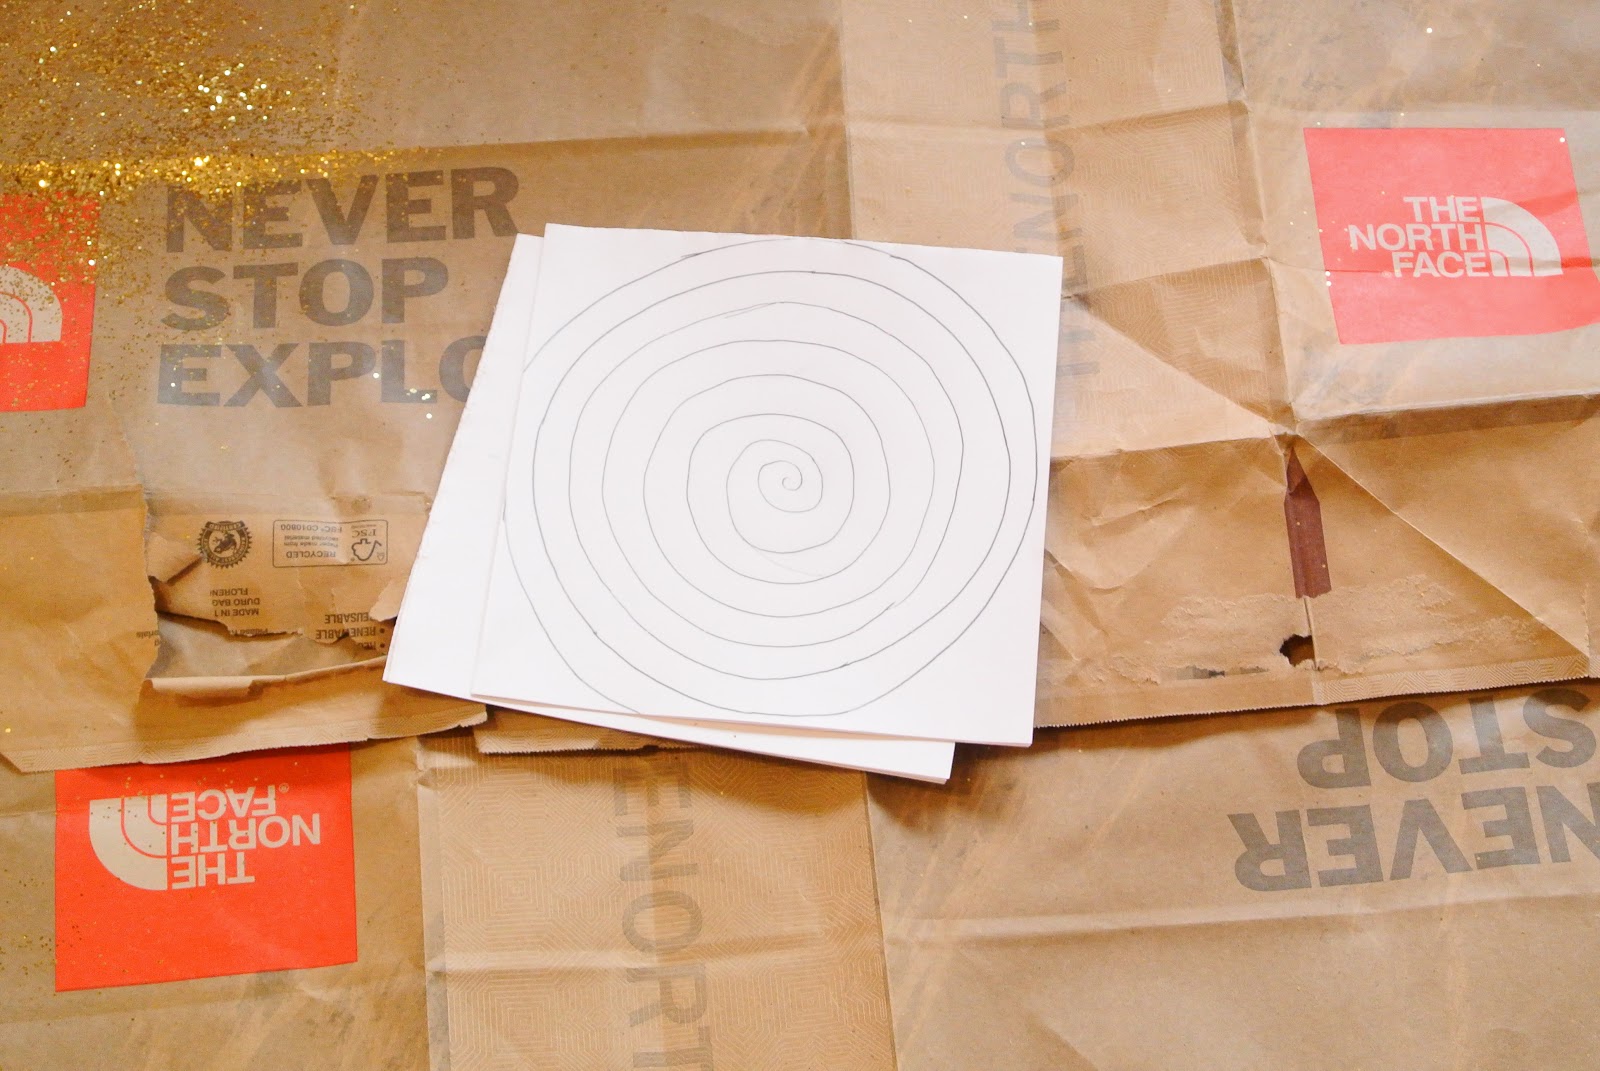
For the second step, draw a spiral and this doesn't have to be perfect, but these are the layers of your rose petals.


DSC_5788.JPG


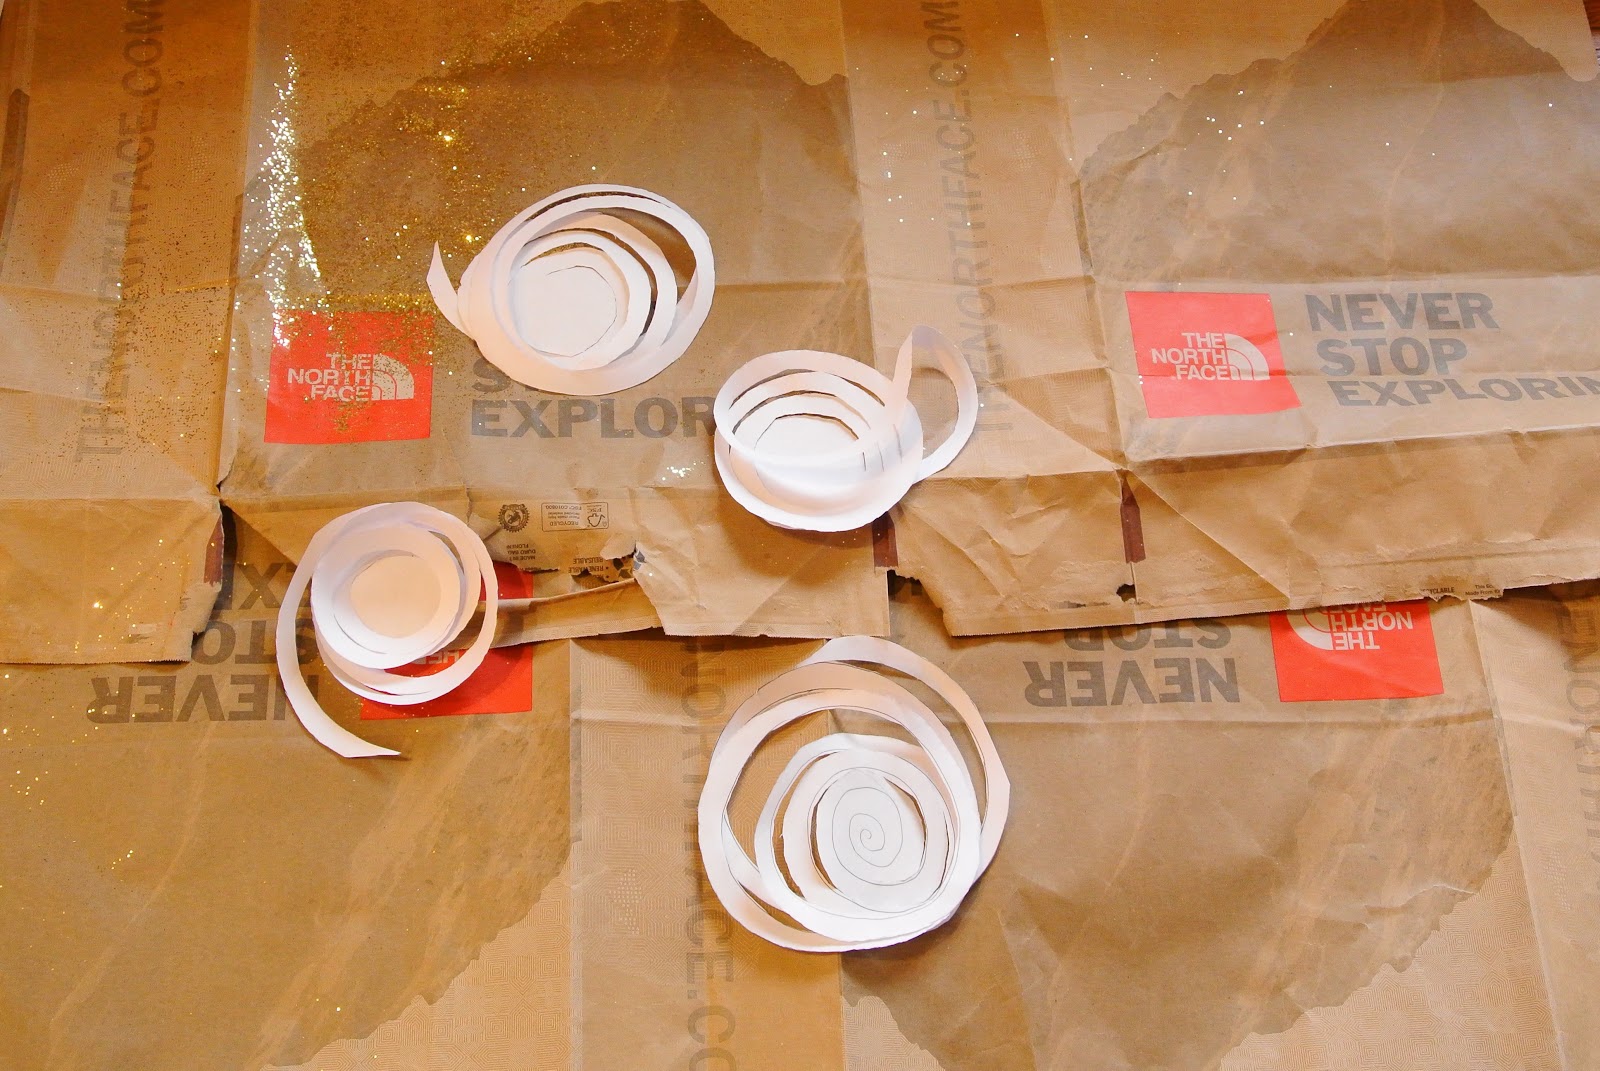
Now you have to cut along the line of your spiral, making sure you still have a small circle in the center. It’s important that you have this base because this is what the rest of the rose will rest on.
(like so)


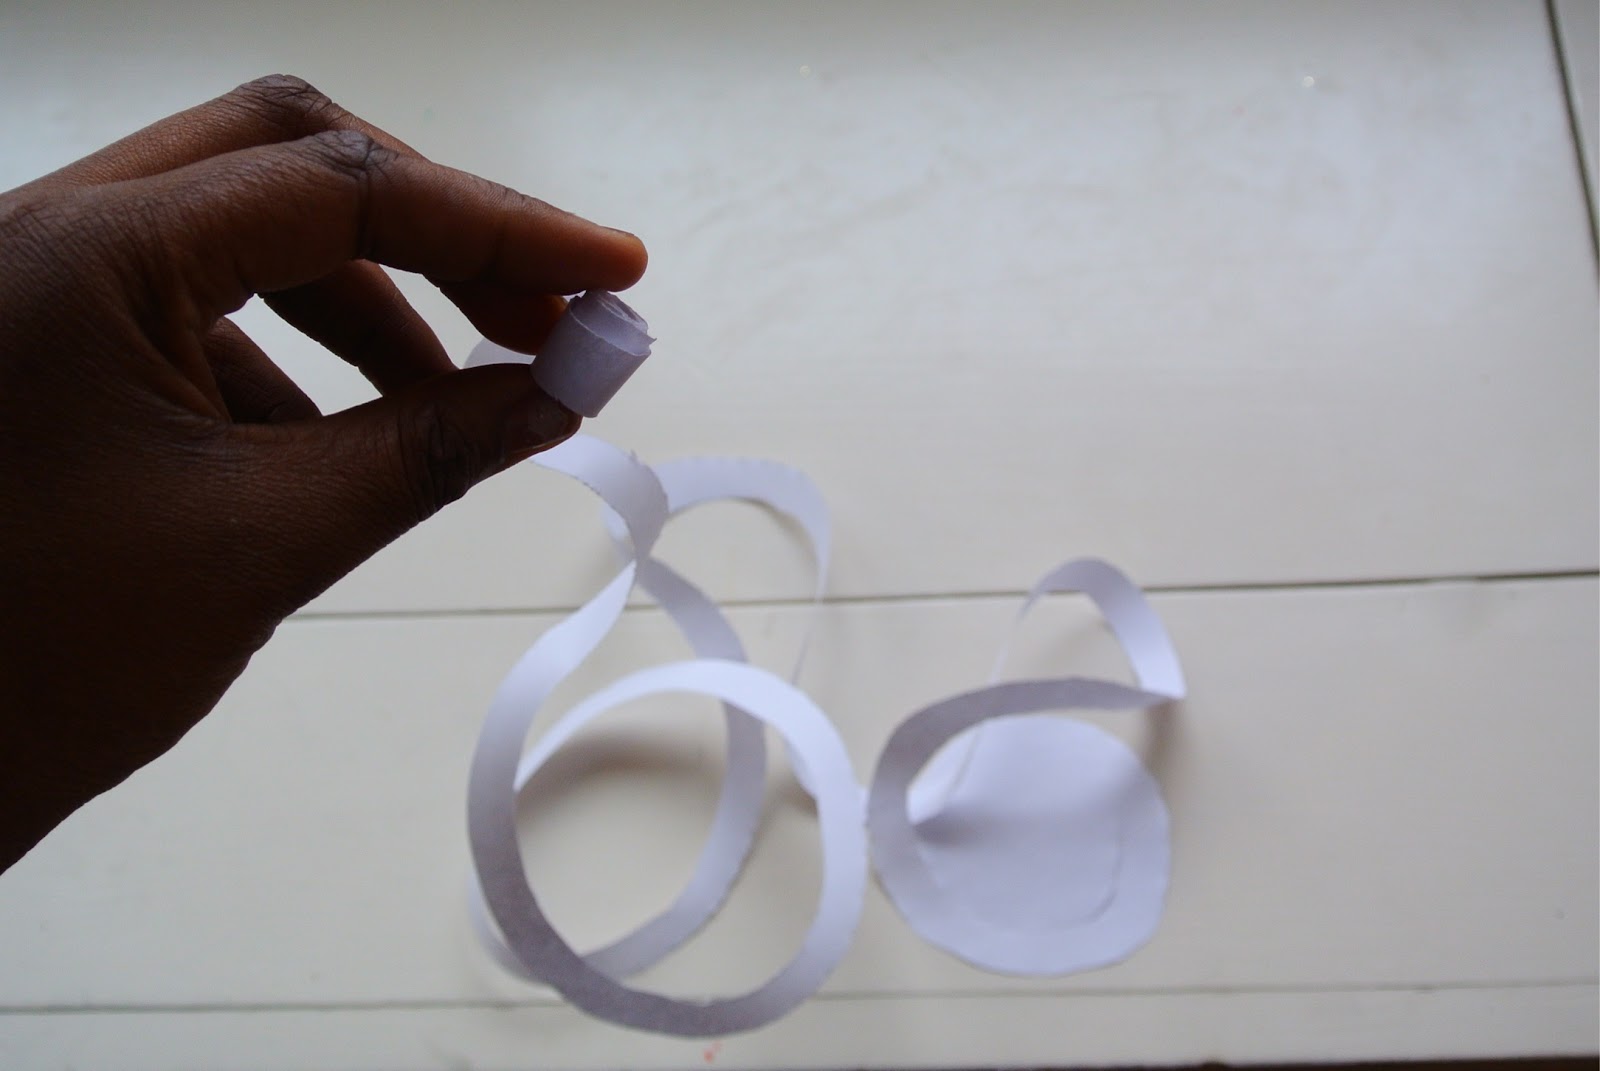
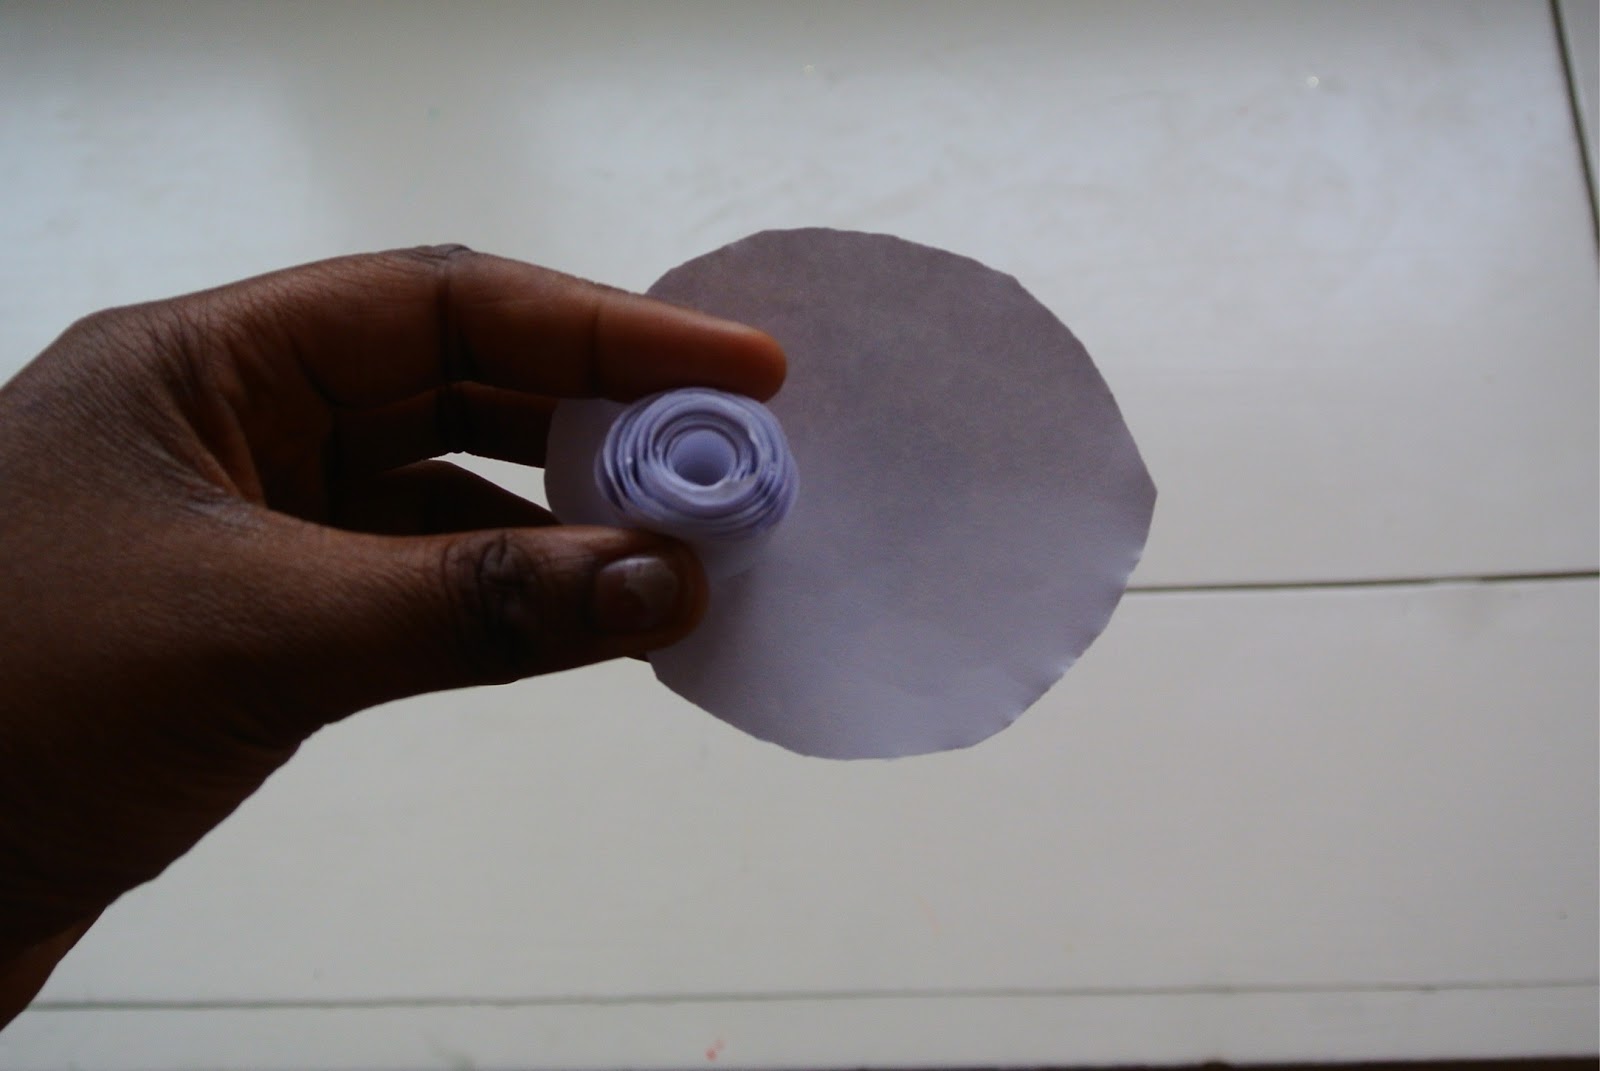
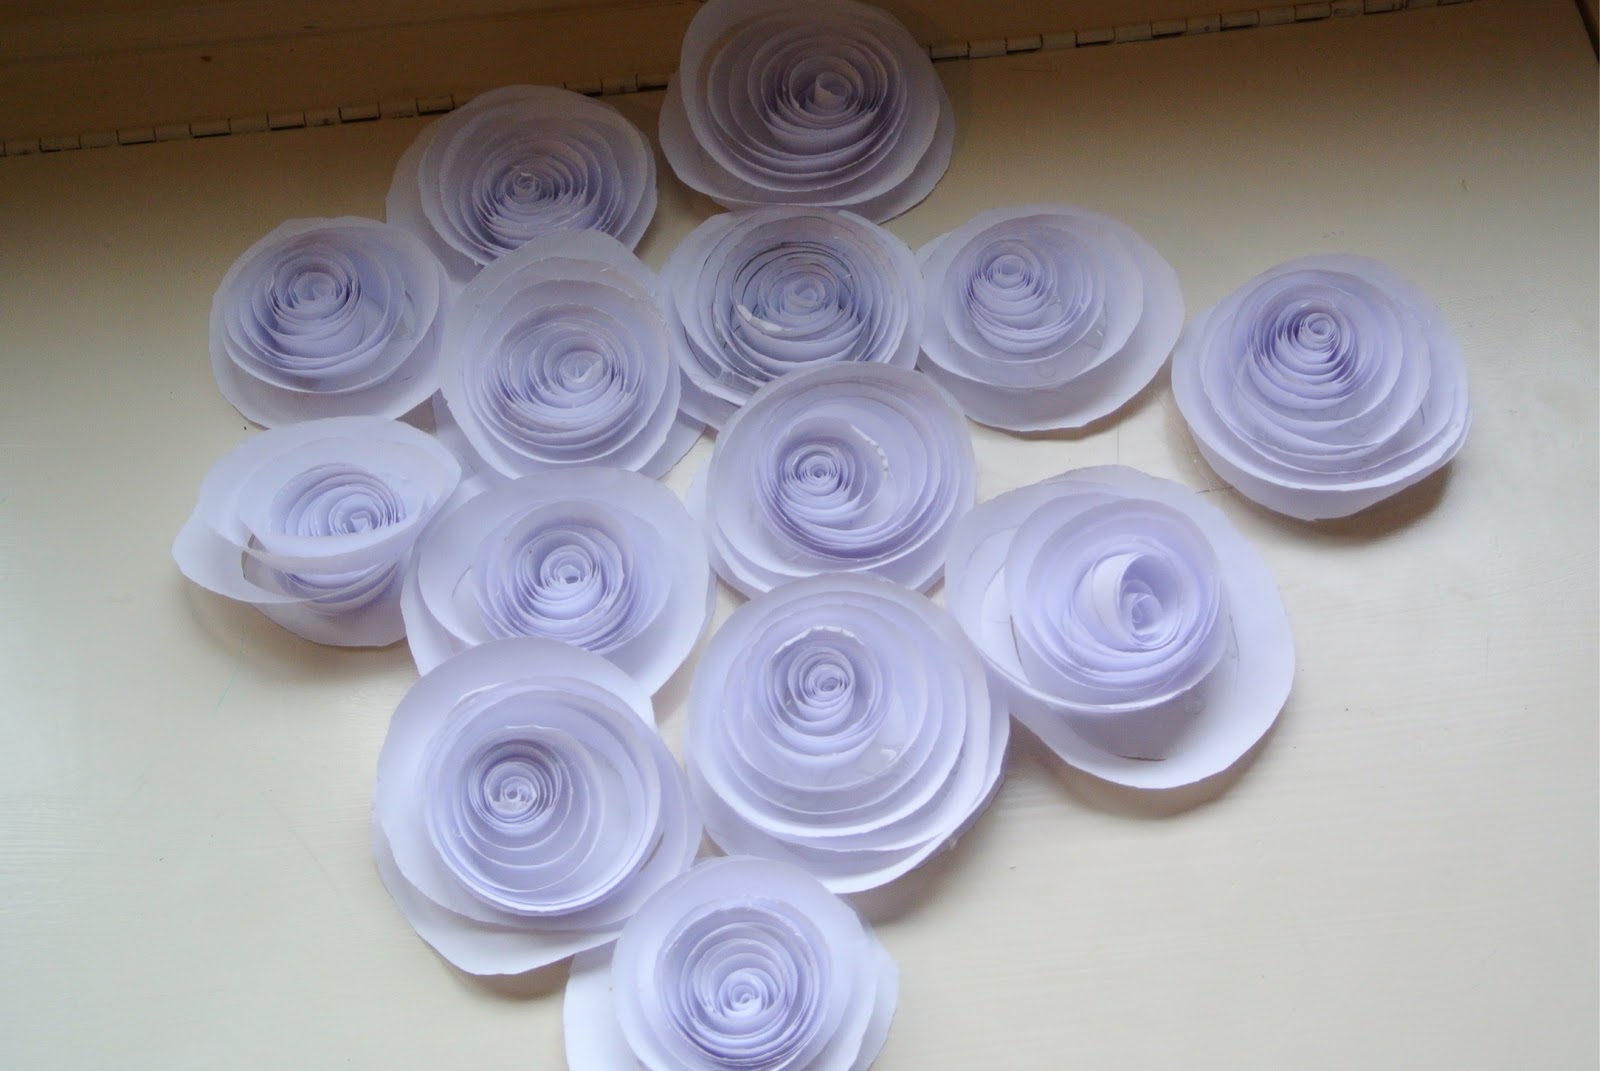
From there you will need to take a hold of the loose end and roll it until it's a tight spiral.


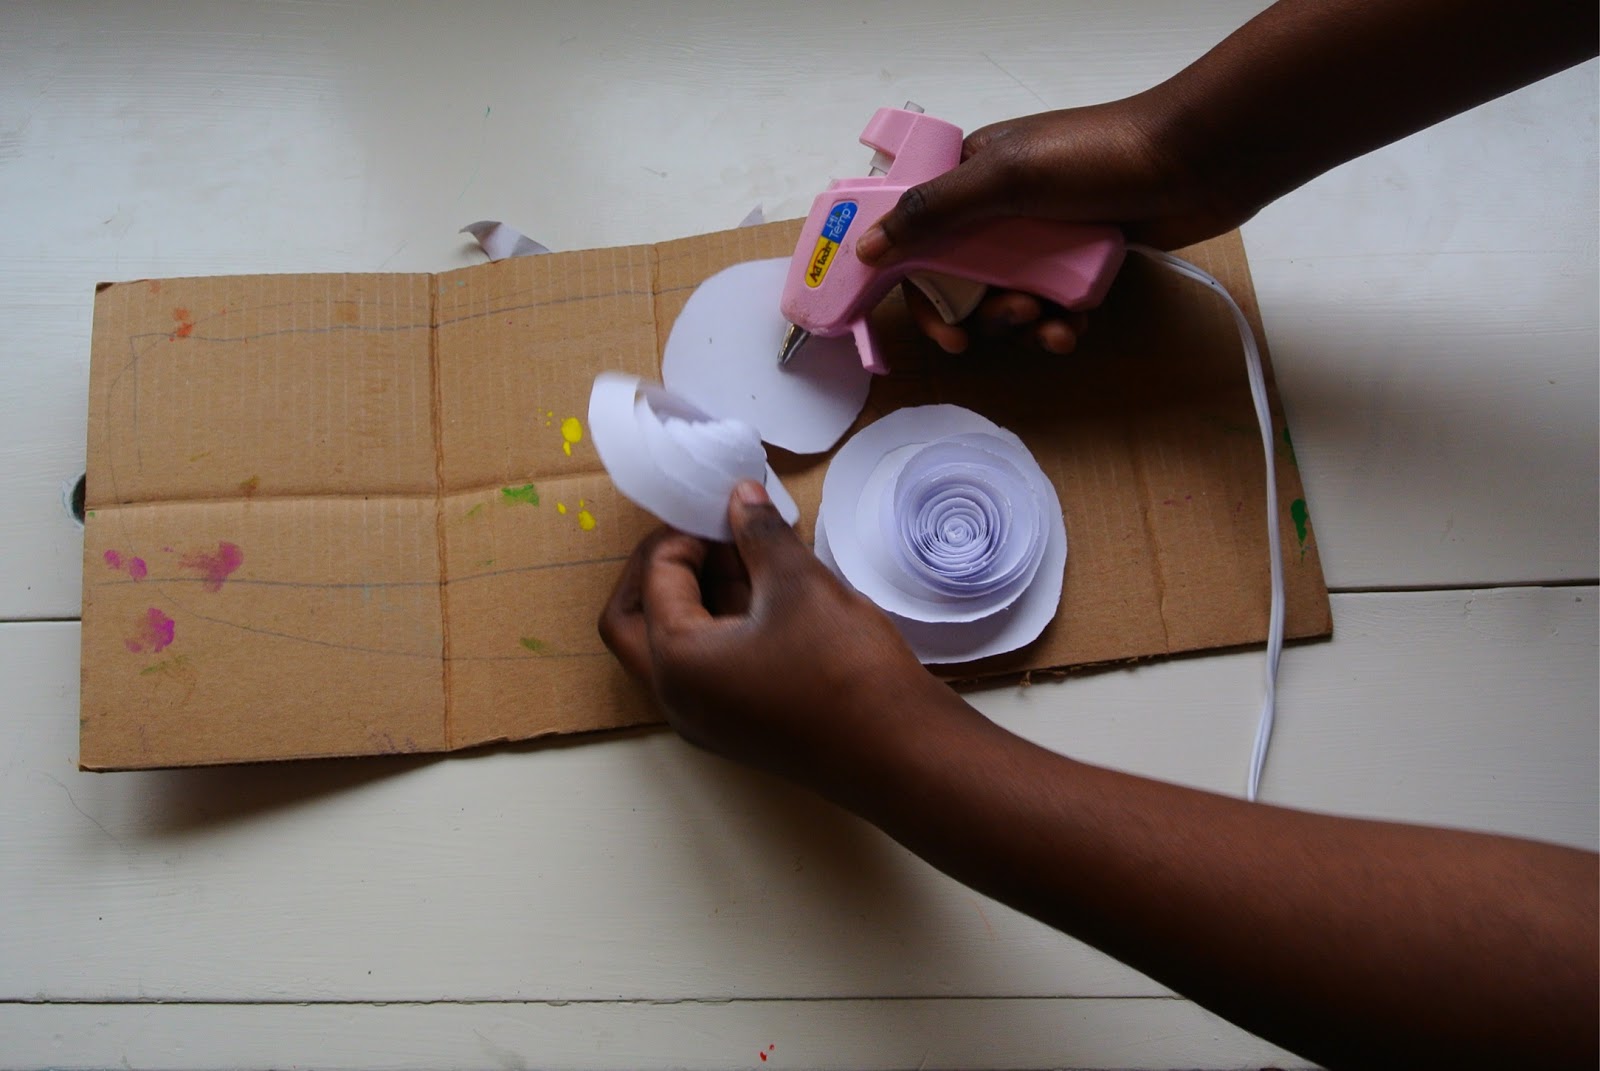
Once everything is wound up you can play around with this coil to loosen it up and create how the rose will lay. Once this is figured out you can use hot glue to secure it to the base.


Finally to give them the touch of gold I was craving for my room I sprayed them with a bit of mod podge spray and sprinkled the glitter on.


Here is the final project and how I placed them in my room:


Thanks for reading! - Mary

Popular Posts

Like us on Facebook

Flickr Images